November 29, 2022
How To Grow Microgreens: Easy Fresh Food Indoors
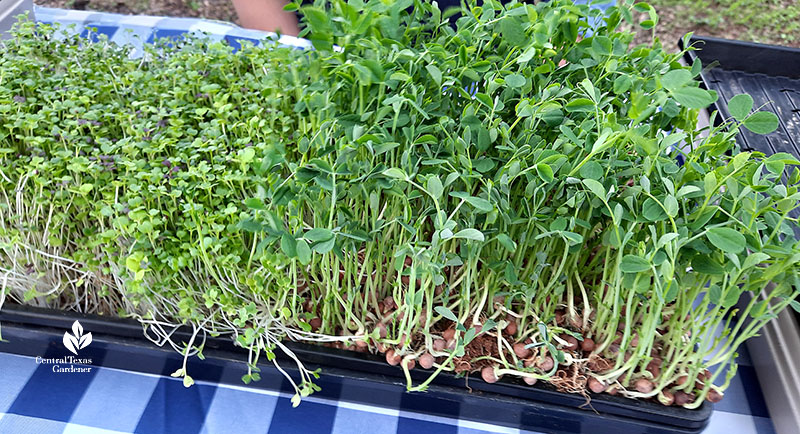
Have you tried growing microgreens indoors? Yummy and nutritious, these seedlings of favorite garden crops are quick to sprout and harvest to top salads and sandwiches, swirl into smoothies, and sprinkle on pizza, soup (whatever!). Essentially, the ultimate instant gratification crop.
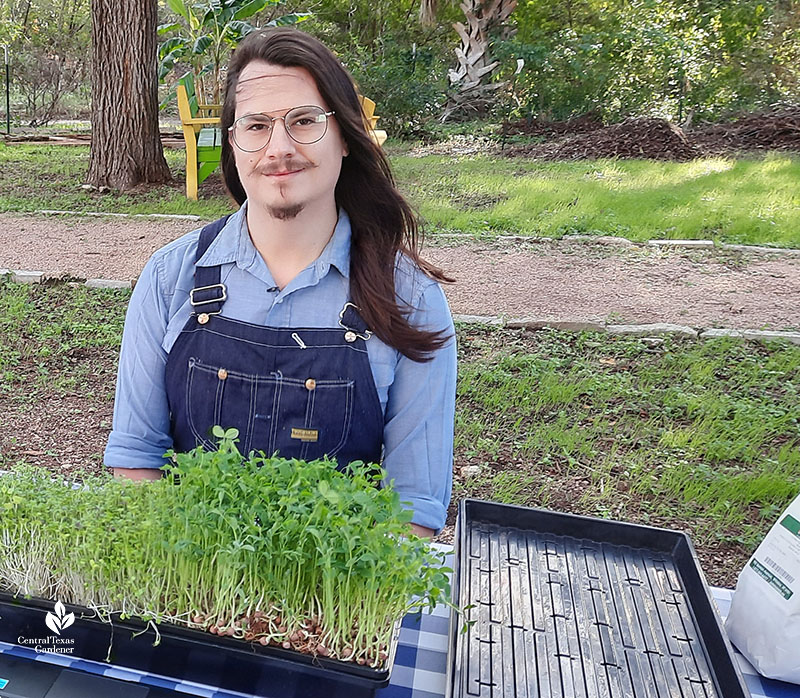
To show us how, we hooked up with Austin Davenport, a community gardener and local garden educator who grows microgreens in his apartment.
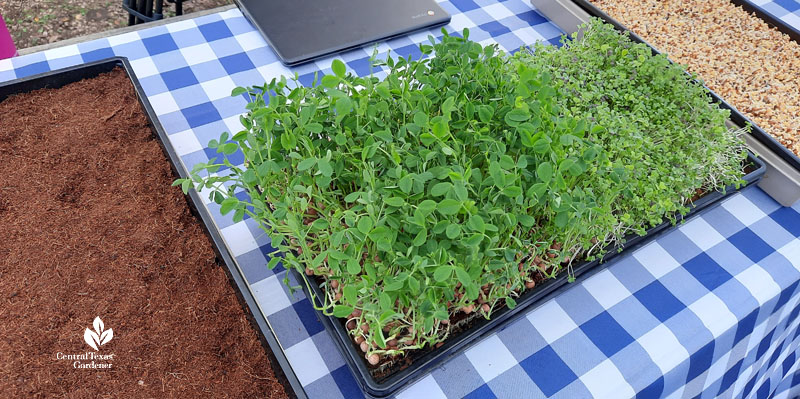
The advantage to microgreens, he tells us, is that you don’t need a yard or a big investment in equipment. You can even grow in repurposed containers (like berry containers)—anything that’s 2-3” deep as long as you punch in drainage holes. Austin prefers growing in 10” x 20” inch nursery trays (there are countless options in garden centers and online).
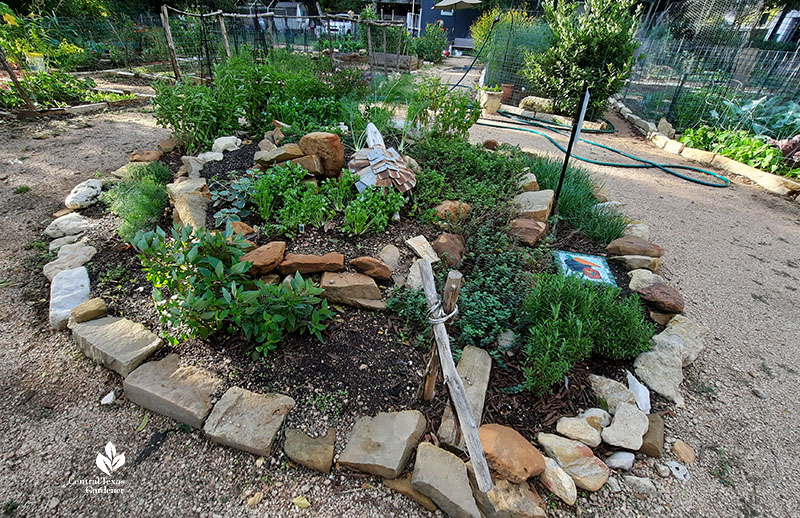
Cold or wet days don’t matter, either. It was 39° when we met him at the Deep Roots Garden, a community garden project of Whole Foods Market, where Austin has a plot.
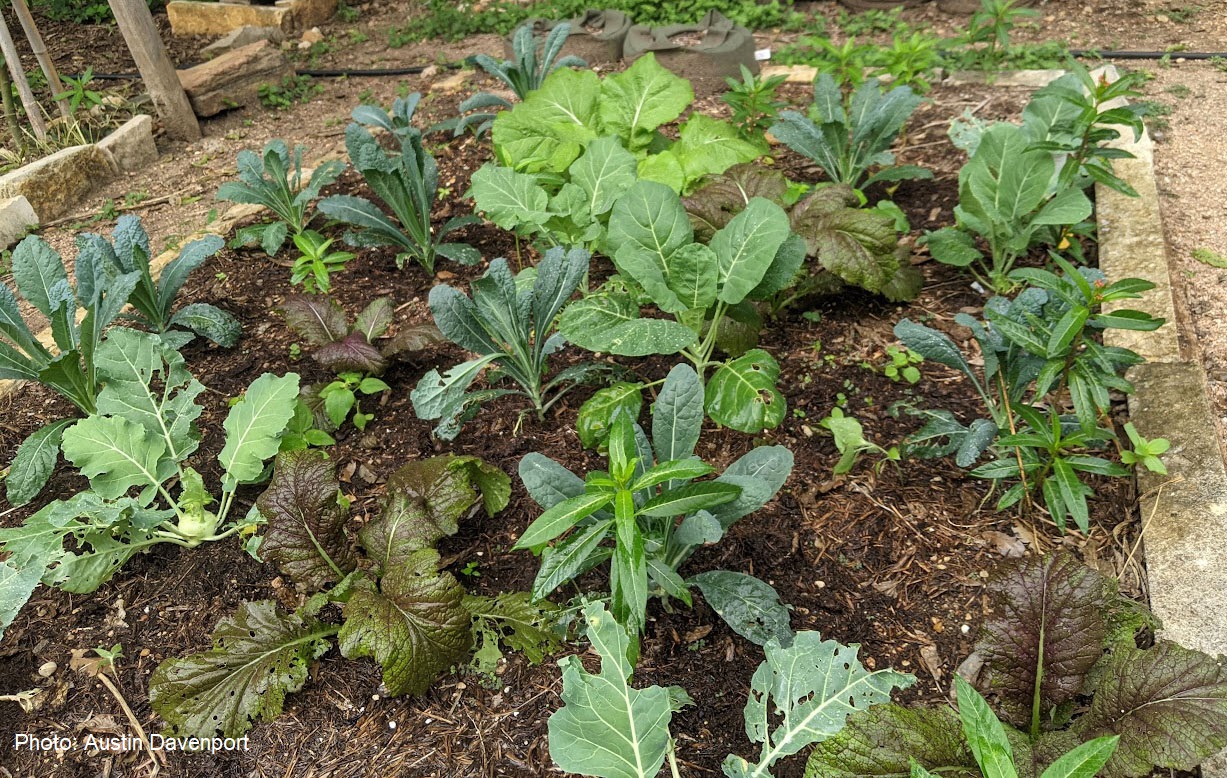
But when last week’s drizzling chill scooted many gardeners inside, microgreens made for comfy, cozy gardening.
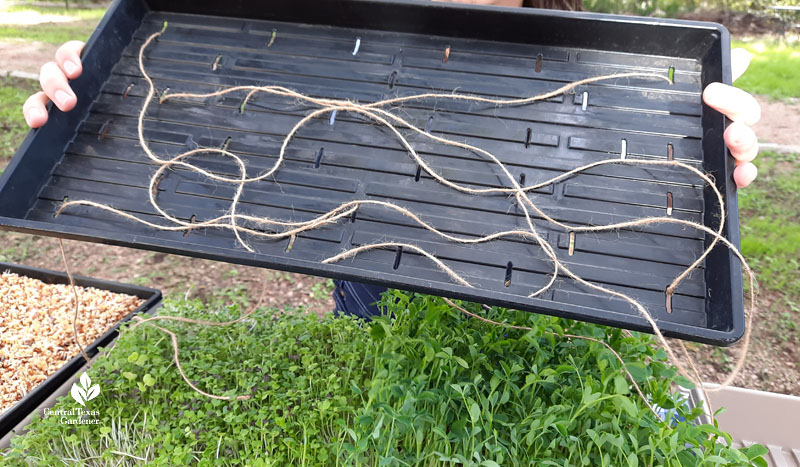
He explains how to sterilize our trays between crops and weave twine through drainage holes for bottom watering when the seedings are 5-6 days old.
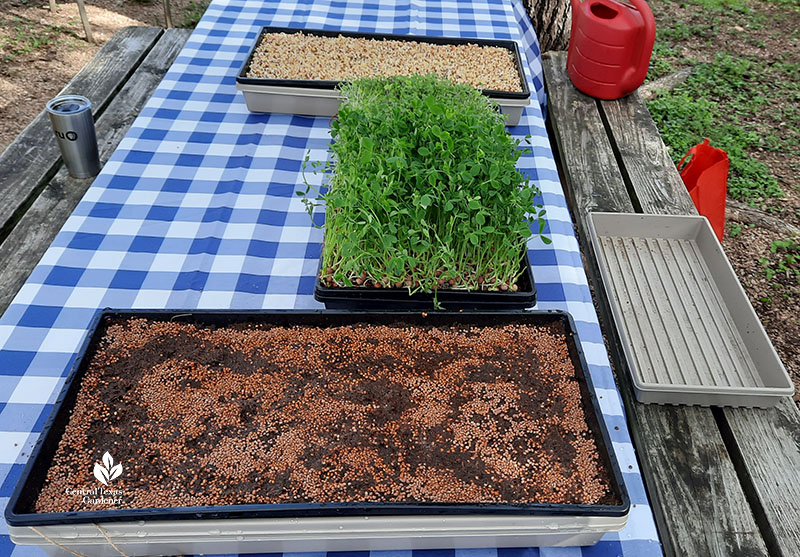
Austin’s preferred growing media is coconut coir. “It’s inert and it doesn’t have any sort of fungus gnats or microbes. I can put this whole tray into the fridge without having to worry about introducing any sort of dirt and contamination in my fridge.” Before planting, moisten it to be about like a wringed out sponge. It’s easier to do in a large bowl, bucket, or trug if available.
So, what can you grow? Mix up your flavors with seeds from peas, leafy greens (including mustards), cole crops (cabbage, broccoli, brussels sprouts, kohlrabi, collards), lentils, and spicy radishes—basically, many plants you can grow to full-size harvests in garden beds. Seed them generously in a single layer, especially in the corners to support the center plants and keep them straight.
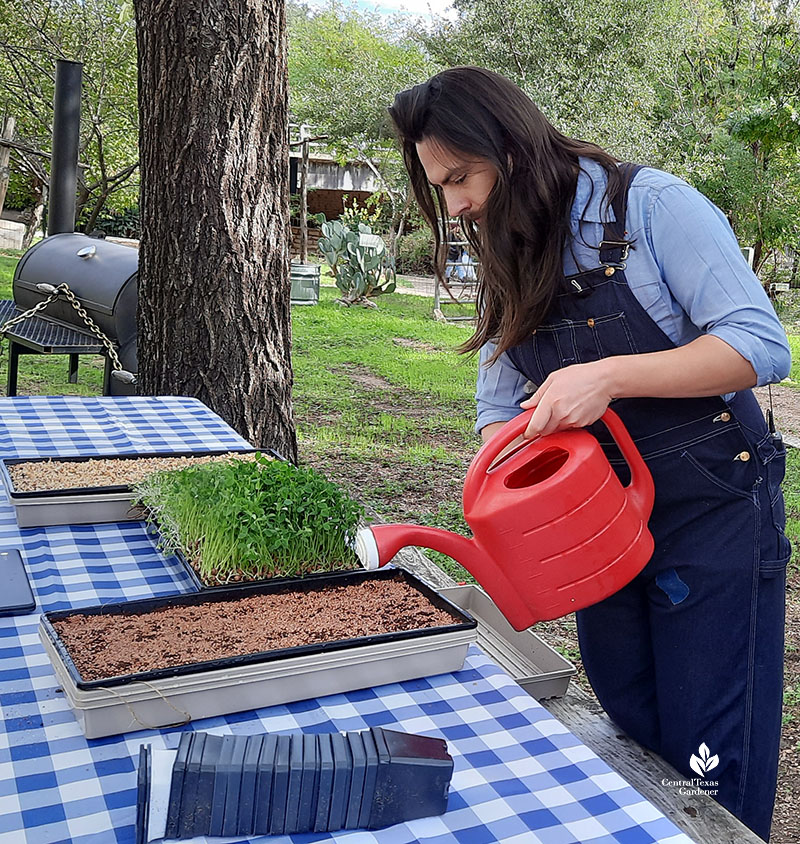
Water them in. “And from here, we’re going to check on the seeds at least once a day to make sure that there’s good germination, nice and damp surface. And we’re also going to put another tray on top of it just to keep out all the light,” he notes.
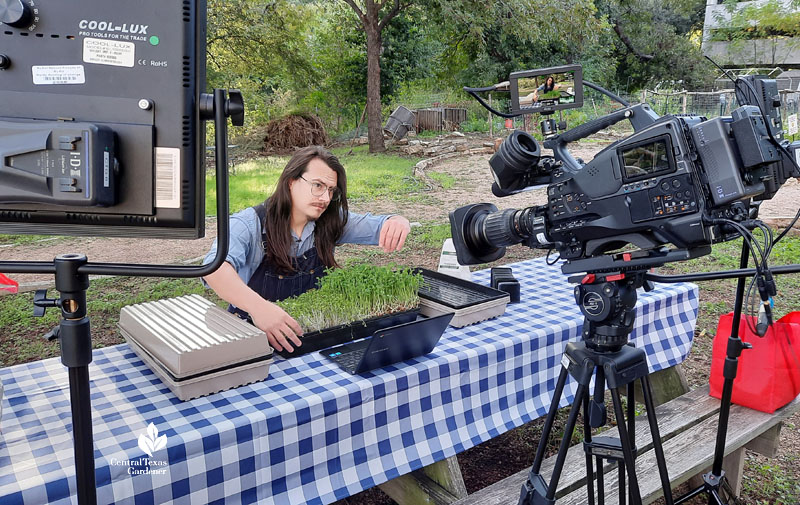
“We want the seeds to grow devoid of any light, and that will help them grow straight upwards. After a few days of where we see good germination and straight yellow seedlings, we’ll move these to a light source.”

That can be a bright windowsill, but ideally you want to use grow lights like T5 or others. Leslie Halleck analyzes all the options in Gardening Under Lights.
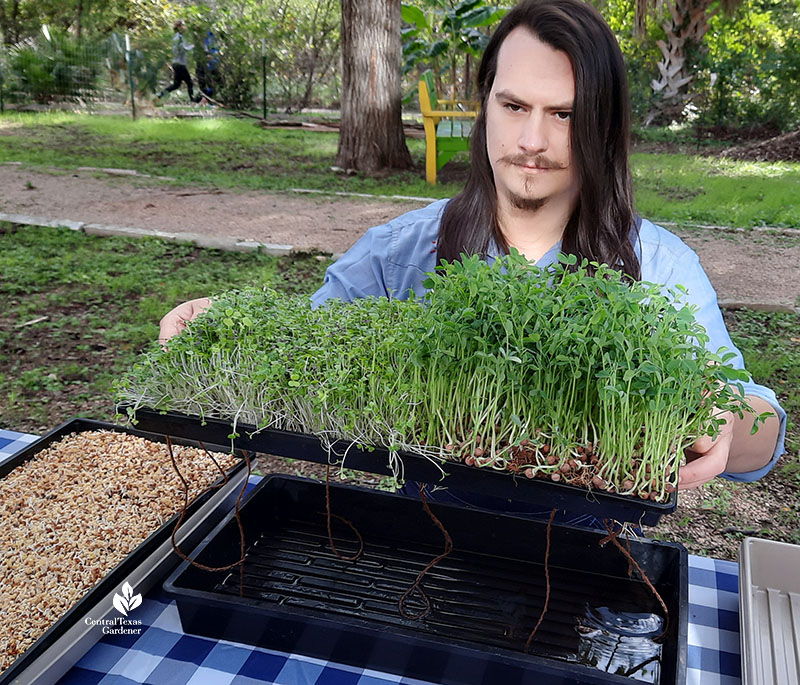
At about 5-6 days old, the roots are long enough to add about 1” of water to the tray and let the wicks water the sprouting plants from the bottom up. Austin explains why: “We want to use the bottom watering method for two main reasons. The first being to discourage any sort of fungus development on the surface. We want to water from the bottom up, not the top down, to try to keep the surface as dry as possible. And that’ll help prevent any sort of molds developing on your microgreens. And we also want to have good air circulation in the room with these, and that’ll help prevent any sort of mold to developing on the top.”
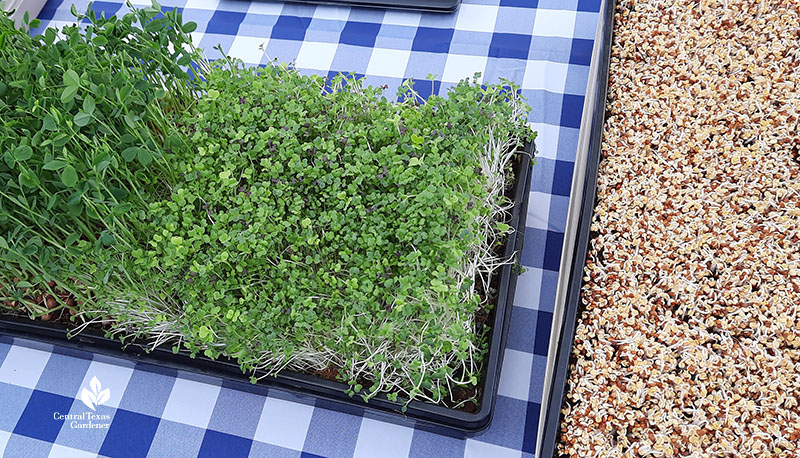
To harvest, use snips or scissors to cut right above the soil. “After about 10 to 14 days, you’re ready to harvest food that you grew yourself. These greens are incredibly delicious. They’ll last you quite a long time, a lot longer than a packet of salad mix from the store.”
Follow Austin Davenport on Instagram for his latest tips and talks.
Watch now for lots more!
Thanks for stopping by! Linda
tags:

