September 2, 2013
Recycling a glass table top into water wall
Since we featured Elayne Lansford’s Bottle World and healing garden, many of you have asked how to make her unique water wall from a recycled table top.
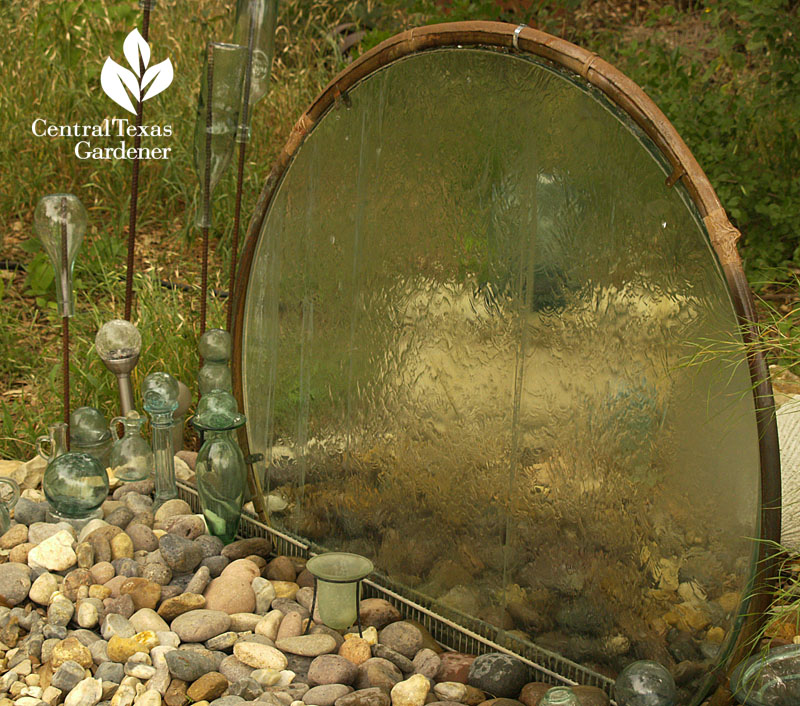
If you missed the whole story, here’s our garden visit, where Elayne found solace in creative energy during her battle with breast cancer and husband John Villanaci’s lung transplant.

The original water wall birthed when Elayne snagged a glass table top at Goodwill for $25. You could use plexiglass or have a glass cutter cut one to a size you want. Hers is about 5/8” thick; you could go with something a bit thinner, but you want it thick enough to be stable.
First, they got an underground basin to hold the water and the pump. Elayne chose a 2 x 3 concrete mixing tub that cost $30 at a box store.
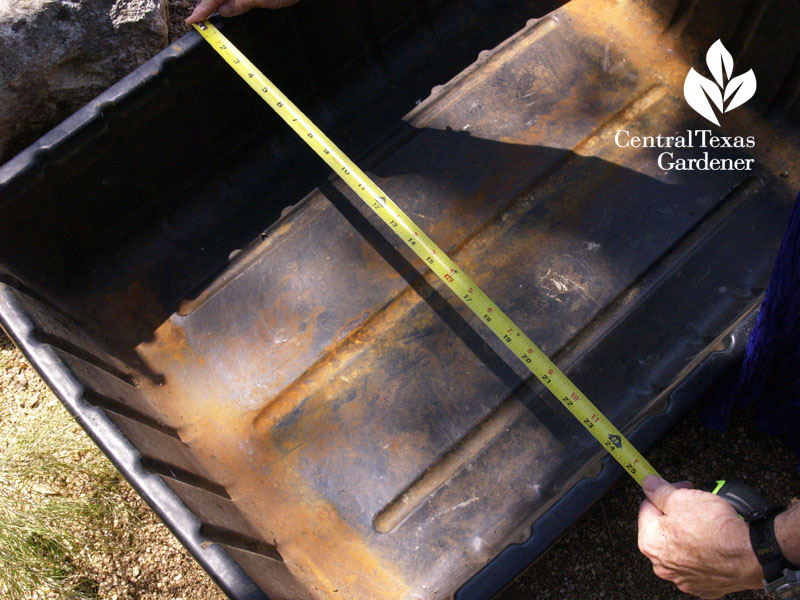
That proved to be too small for this large piece of glass. They upgraded to a 3 x 5 concrete mixing tub from a concrete supplier. You could also use a pond liner or any upcycled basin that shows up curbside on bulky trash days!
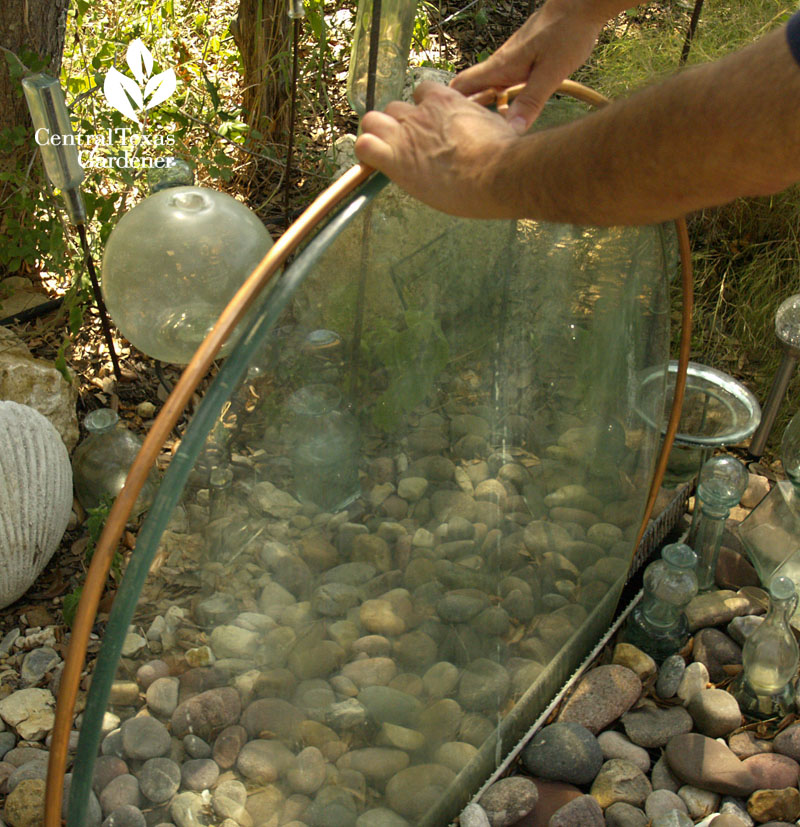
A disappearing fountain/stream basin has hinged grates on top. Instead, Elayne and John used two sections of wire shelving. The ends form a trough for the glass. The second shelf is on the left under the rocks.
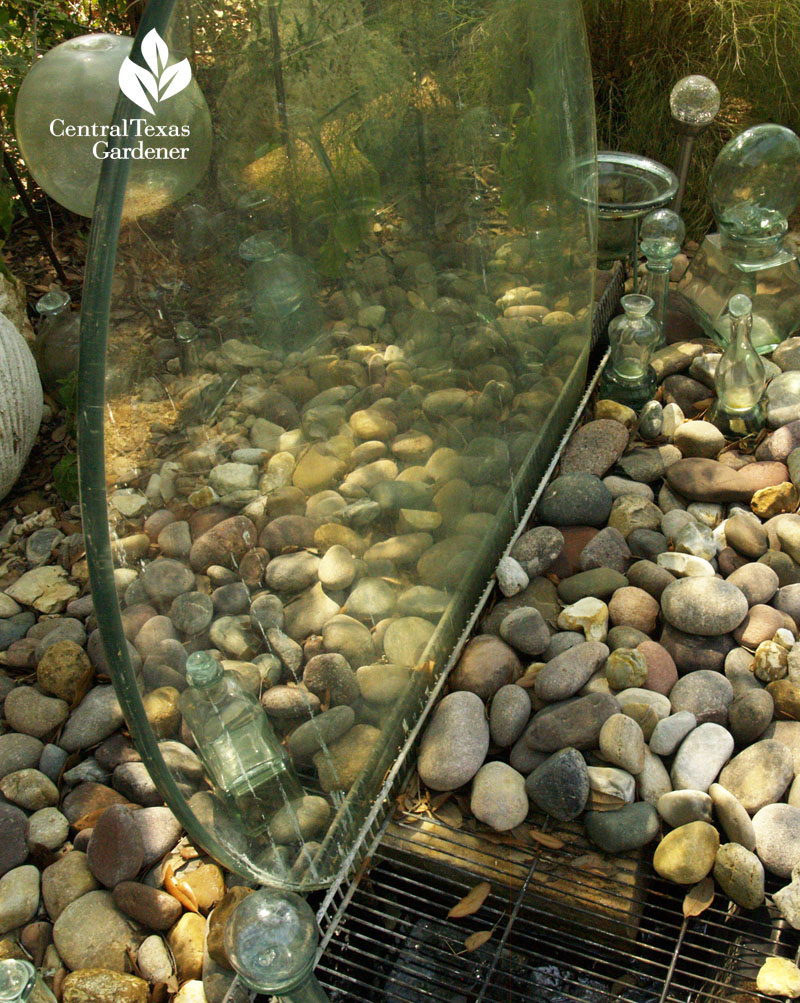
To keep the glass secure, a welder friend made anchors. If you’re not lucky to have a friend like that, a welding shop can do this.
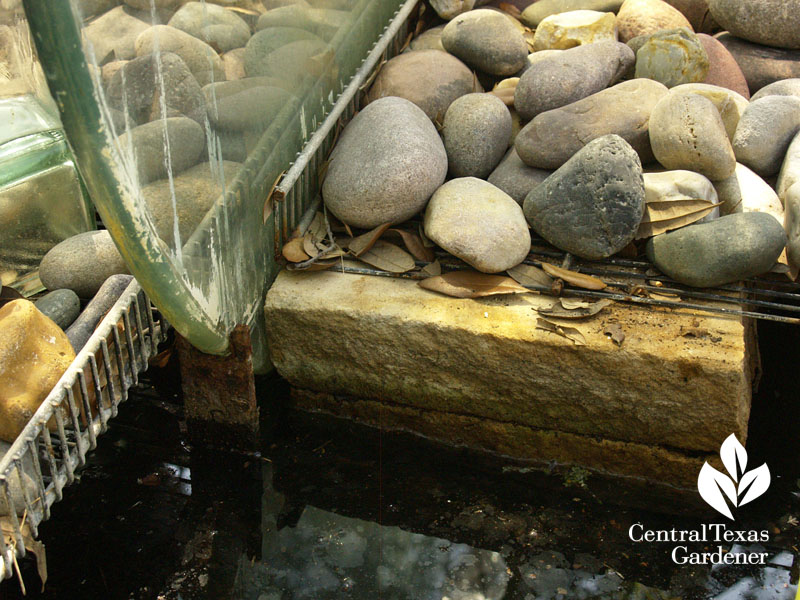
Since the wire shelving could sag under its rock overlay, Elayne placed a large stone underneath each side. At the end for the pump, they cut the wires to lift a section for maintenance when needed.
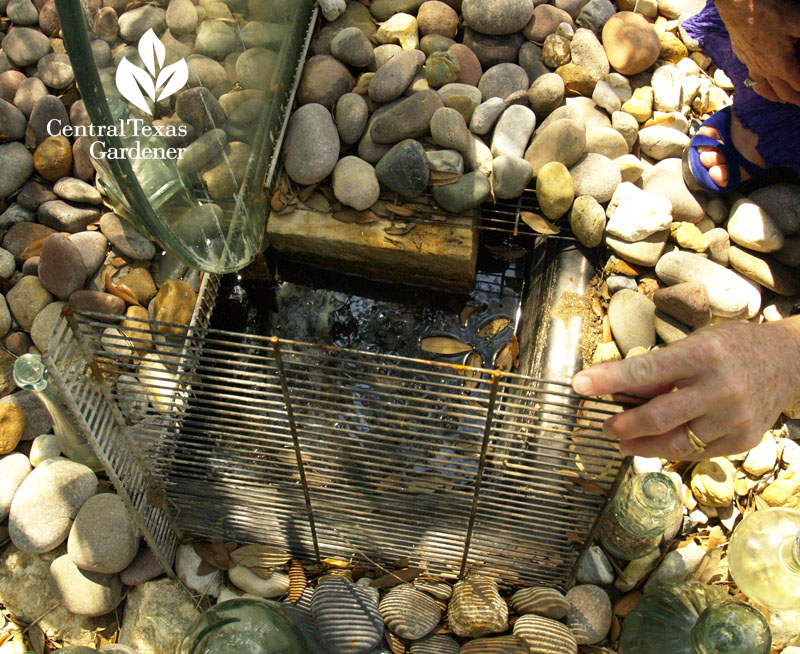
The first design inserted and clamped vinyl tube from the pump into one end of the pipe. They capped off the other end.
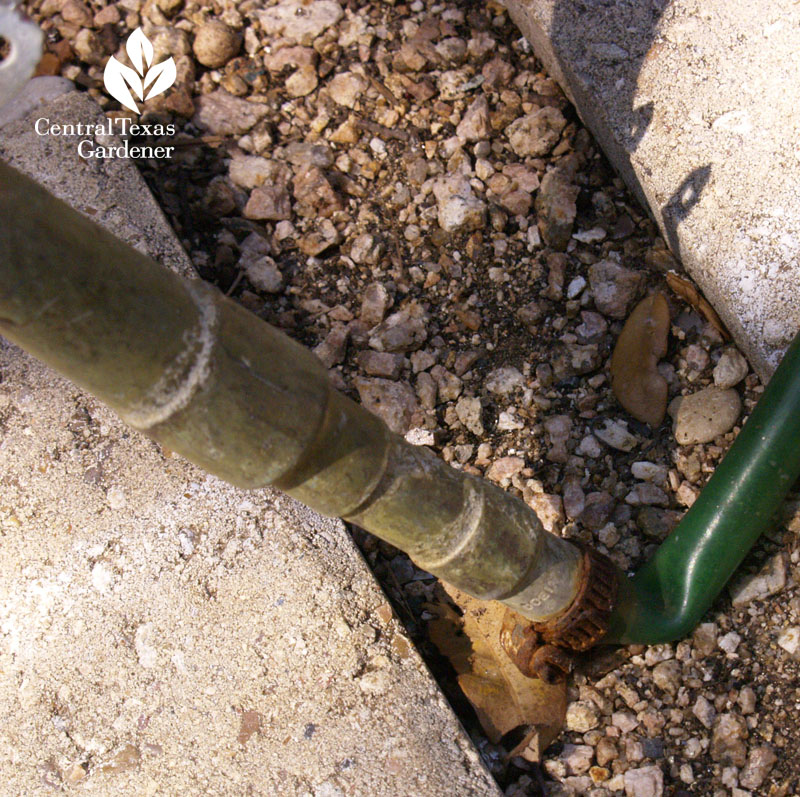
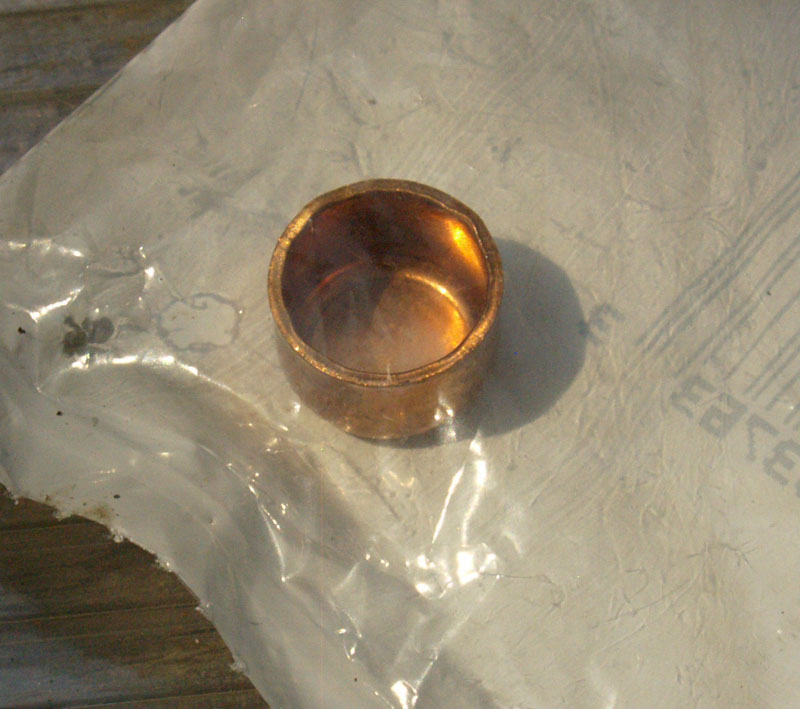
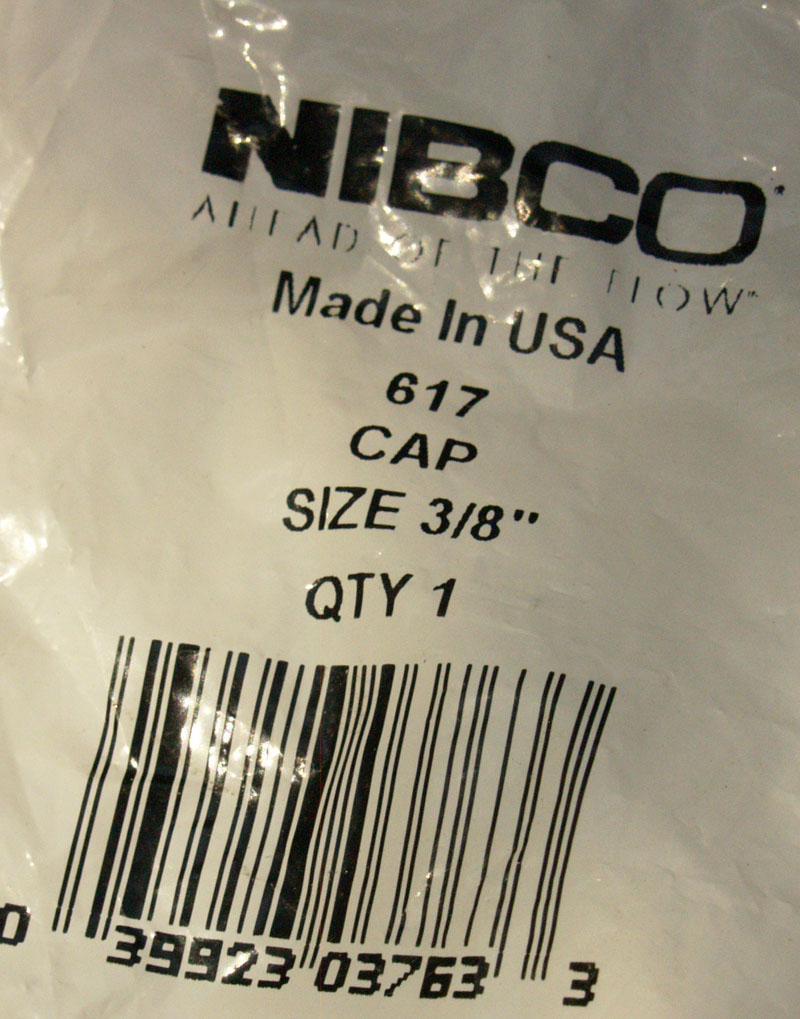
With the round design, though, they ran into uneven water distribution. John notes that a square or rectangular design would be easier.
But he and Elayne are all about challenges! So, he’s starting over. John is in experiment mode for hole size and spacing on new 1/2″ soft copper tubing. Like the first design, the holes for the water flow will only be in the section that hugs the top of the glass.
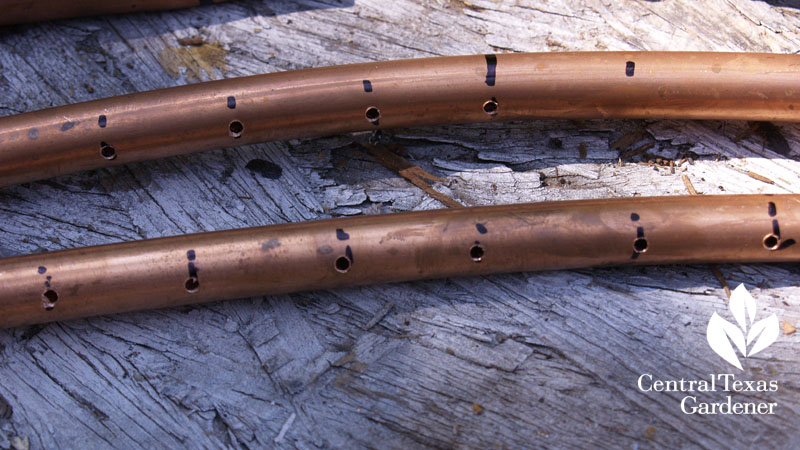
This time, he’s uniting two sections of copper tubing with couplers in order to attach the water tube at the top for more even distribution. One option was 3/8″ clear vinyl tubing to the pump. (Actually, you would have another coupler here between the two for a snug fit).
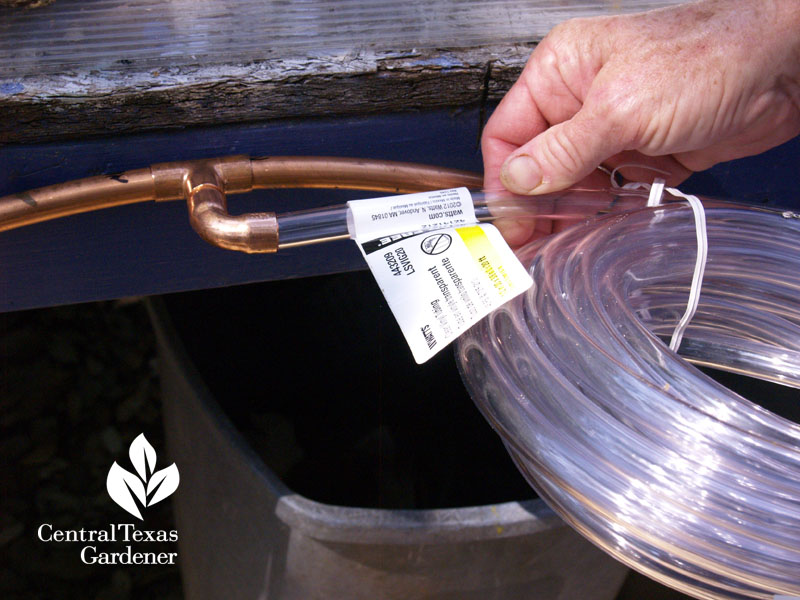
In the end, they’re probably going with a section of 3/8″ copper for visual appeal.
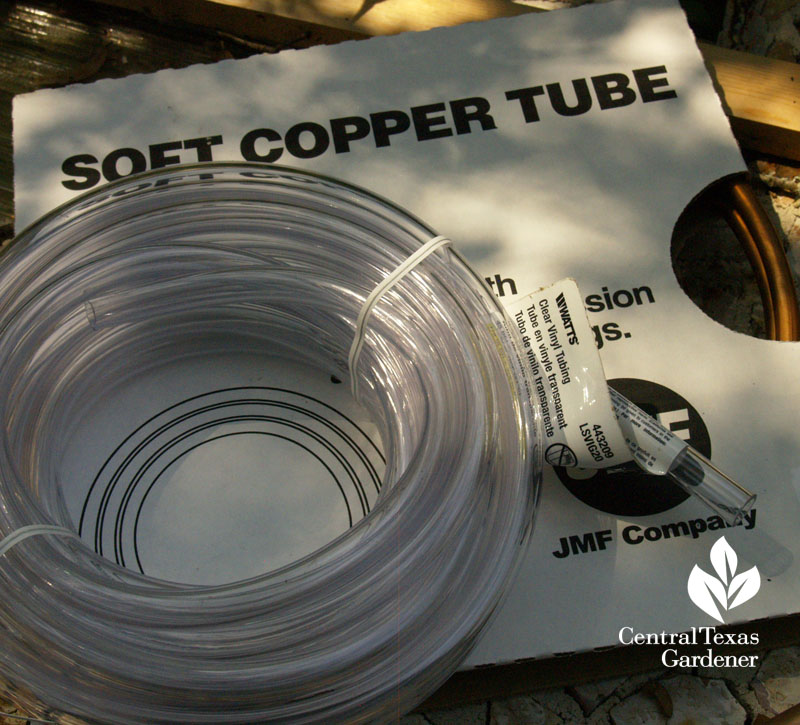
Note: The copper tubing couplers will mean sweating and soldering.
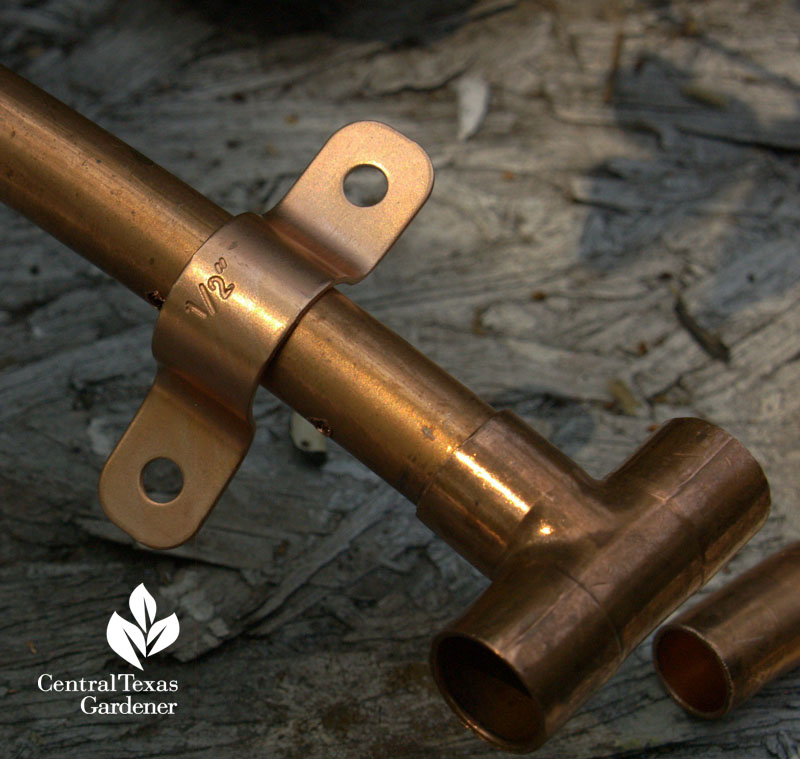
To attach the copper tubing to the glass, John will simply crimp copper clamps to secure it.
This is totally an experiment for Elayne and John, and there are countless ways to do it. I’d love to see your inventive designs!
Thanks for stopping by! Linda

